Resizing your Images
Step 1 – What size does my image need to be

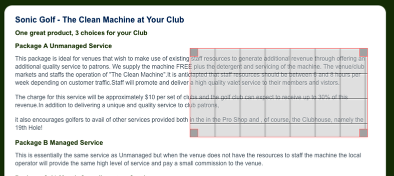
Having written and published your article, take a look at it using Firefox
Step 2 Using the Firefox Web Developer ruler (see essential tools lesson)
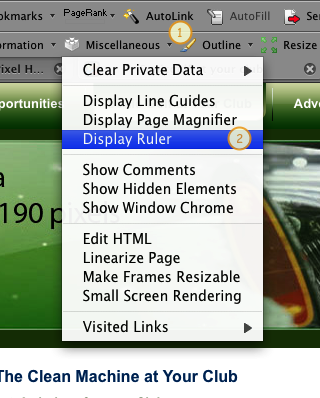
1) Click on Miscellaneous – a drop down menu will open
2) Select Display Ruler
When you move your cusor over the screen you will now see a set of cross-hairs
Step 3 – Measuring the image space
Click and drag the cross-hairs to make a box the dimensions of the area you wish the image to take up.
Step 4 – The measurements
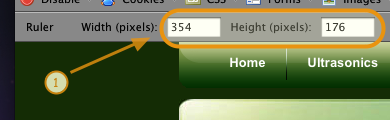
1) In the tool bar you will find the exact number of pixels that box you have drawn measures, this is what you’ll need to make your image
Step 5 – Resizing your image using PIXresizer

1) Use the load picture button to select your chosen image
2) Select the custom radio button
3) Check the Maintain aspect ratio button ( this will stop your pitures getting distorted)
4) Type in your width or height
5) Select jpeg
6) Save your file – its now ready for you to upload to the article ( see image placing lesson)